.jpg)

Last thursday when I was out antique shopping downtown with my {mom} she found these excellent old beat up rulers {only .10 a pop} to paper craft with. We brought them home and got right to work. These would be excellent gifts for teachers, students, and fellow paper crafters! For starters here's what you will need:
- Wooden rulers {old or new}
- Sandpaper of some sort
- Glue and brush {Aleenes; School Glue; Mod Podge will all work}
- Decorative paper
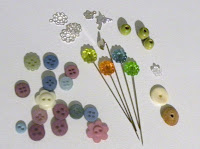
- Embellishments
- A smile on your face!

Step 1: Sand the part of the ruler that you want to decorate. This should not include the ruler markings. You don't need to sand too much {you are just trying to remove the glossy top coat}

Step 2: Measure and cut a strip of decorative paper. Use the brush to apply a thin layer of glue and attach your strip of paper.

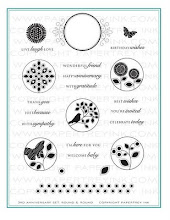
The last step: Embellish your little heart out. Rhinestones, pearls, flowers, rubons, stamps, you name it. And then you're done! {How simple and cute was that?}
Happy {thursday} to all!